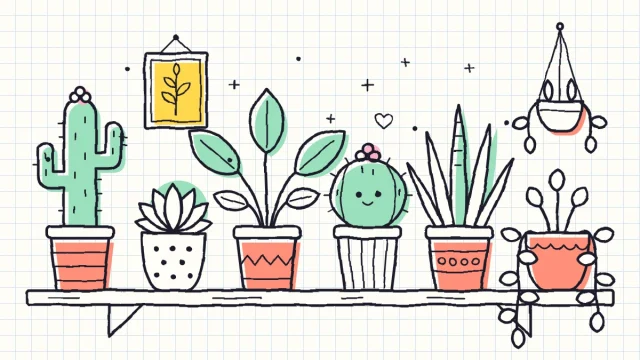
Leaf Doodles: 12 Easy Leaves to Draw Step by Step
One simple method, center vein first and then the outline, gives you twelve leaves: almond, heart-shaped, oak-style, maple-style, fern, eucalyptus, vine and more, with easy striped and half-filled finishes.
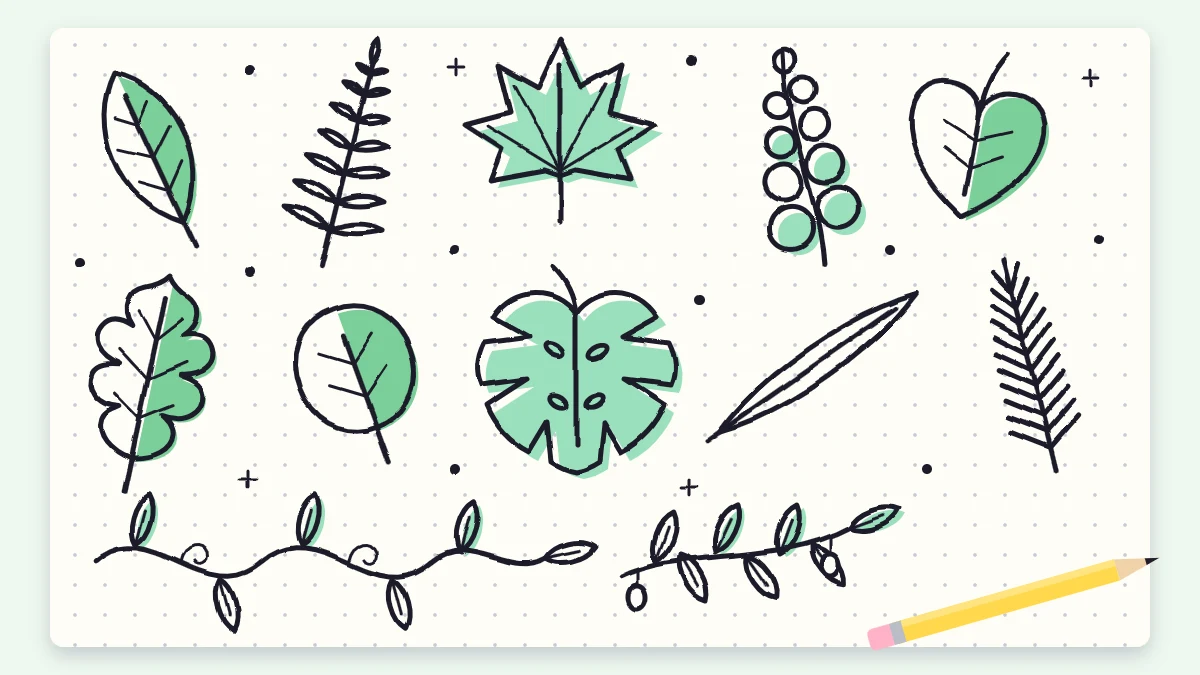
Doodle at a glance
What you need
- Black fineliner or gel pen
- Pencil and eraser for guide lines
- Green highlighter or marker for an accent color
- Any notebook page
Leaves are the most forgiving thing you can draw. No two real ones match, so a lopsided one just looks like another kind of leaf. That makes leaf doodles a good place to warm up, and a useful thing to have ready whenever a page has a gap that needs filling.
Nearly every leaf below comes from one short method. Learn it once with a plain almond leaf, then change the outline to get eleven more: round, heart-shaped, lobed, feathery and trailing.
The one method behind most leaves
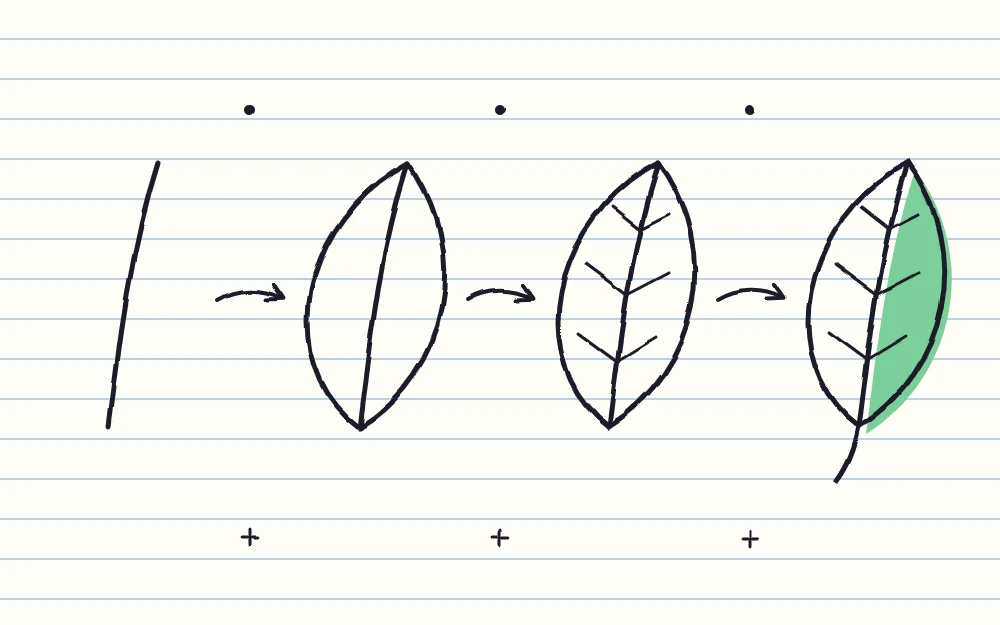
Work from the inside out. The vein sets the direction and length, and the outline simply follows it.
- Center vein. Draw one gently curved line, about as long as your thumbnail is wide. A curve looks livelier than a straight line.
- First side. Start at the bottom of the vein, swing out to one side and come back in to meet the top of the vein at a point.
- Second side. Do the same on the other side, from the bottom to the same tip. You now have an almond shape split by the vein.
- Side veins and stem. Add three or four short slanted lines on each side of the center vein, angled toward the tip. Extend the vein a little below the leaf as a stem.
Tip
Always draw the outline from the stem end toward the tip. Your hand naturally tapers the stroke, and the point comes out sharper.
Four simple single leaves
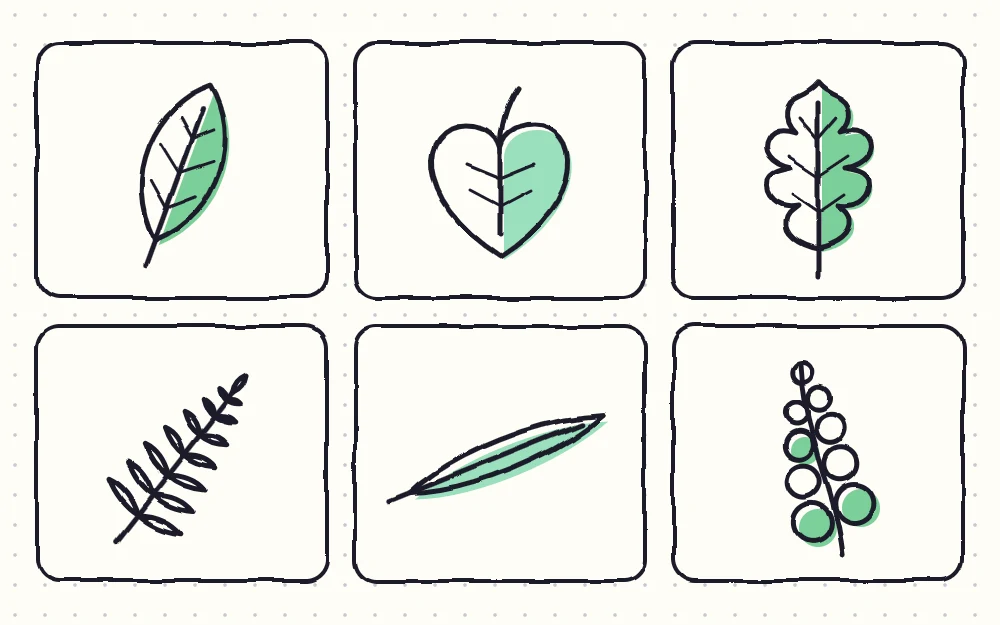
- Almond. The leaf from the method above. Make the widest part sit below the middle for a classic look.
- Round. Draw a short vein, then take each side out in a wide curve so the outline is almost a circle. Finish with a tiny point at the top instead of a long tip.
- Heart-shaped. Draw the vein, then begin each side with a rounded bump that rises slightly above the bottom of the vein before curving down to a point. The dip between the two bumps is where the stem joins.
- Long willow. Draw a vein two or three times longer than usual. Keep both sides very close to it, so the leaf is a narrow sliver with a point at each end. Skip the side veins.
Three leaves with shaped edges
For these, the vein goes in first as always, but the outline wanders on its way to the tip.
- Lobed oak-style. Draw a long vein. On each side, travel from stem to tip in a wavy line of three or four rounded bumps, like the edge of a cloud. Keep the dips between bumps shallow so they never touch the vein.
- Maple-style with five points. Draw a stem, then five veins fanning out from its top: one straight up, two slanting out and two almost sideways. Put a dot at the end of each vein. Join the dots with a zigzag that dips inward between each pair, then bring the outline back to the stem from the two lowest points.
- Monstera-style with notches. Draw a large heart-shaped leaf. Then cut two or three notches into each side: narrow slots that run from the edge toward the vein and stop short of it. Round the inner end of each slot.
The maple and oak shapes come back with acorns and pumpkins in the fall doodles collection.
Five sprigs and stems
Here the center line becomes a stem that carries many small leaves.
- Fern frond. Draw a long curved stem. Add short slanted strokes down both sides in pairs, longest at the bottom and shrinking to tiny ticks at the tip.
- Eucalyptus sprig. Draw a curved stem. Place small round leaves along it in pairs, one on each side, each touching the stem directly. Make them smaller toward the top and end with a single round leaf.
- Olive branch. Draw a stem with a slight bend. Add narrow willow-type leaves in alternating positions, left then right, all slanting toward the tip. Two or three small ovals near the stem stand in for olives.
- Pine sprig. Draw a short straight stem. Flick quick straight strokes out from both sides, close together and angled toward the tip, like the teeth of a comb.
- Simple vine. Draw a long wavy line. At the outside of each bend, add a short stalk with one small almond or heart leaf. Finish the end in a loose curl.
Easy decoration: half-filled and striped
A plain outline is fine, but two quick fills make a set of leaves look more varied without any new shapes.
- Half-filled. Color in one side of the center vein only, with solid ink or an accent color, and leave the other side empty.
- Striped. Skip the side veins and draw close parallel lines across one half, all slanting the same way.
- Dotted. Replace the side veins with a row of dots along each side of the center vein.
- Offset color. Add a loose green shape with a highlighter that sits slightly to one side of the outline instead of filling it exactly.
Mix them: in a group of five leaves, try two plain, two striped and one half-filled.
Watch out
Let gel or felt-tip outlines dry before you add highlighter. Wet ink drags into the color and leaves gray streaks.
Leaves as fillers and where to use them
Because a leaf can be any size and point in any direction, it fits the awkward gaps other doodles leave behind. Drop a single almond leaf between two larger drawings, or tuck a tiny sprig into a corner. Turn each one a different way so they look scattered.
Leaves also finish other doodles. Two of them under any of the small flower doodles turn a bloom into a plant. A vine or a row of almond leaves along a pencil guide line becomes a page frame, as shown in the doodle borders guide. And if you bend a leafy stem into a ring, you have the start of a simple floral wreath.
For a quick practice page, draw the almond leaf ten times, changing only its width and curve. By the tenth, the three-stroke rhythm of vein, side, side comes without thinking.
Frequently asked questions
What is the easiest leaf to doodle?
The almond leaf. It is one curved center line with a curve on each side meeting at a point, so three strokes in total. Once that feels natural, the round, heart-shaped and willow leaves are the same strokes with a wider or narrower outline.
Should I draw the outline or the vein first?
Draw the center vein first. It fixes the length and the direction the leaf leans, and both sides of the outline can then be measured against it by eye. Leaves started from the outline tend to end up with the vein off to one side.
How do I make a group of leaves look natural?
Vary three things: size, direction and fill. Draw some leaves large and some tiny, turn each one to point a different way, and leave a few plain while striping or half-filling others. Uneven spacing helps too, because evenly spaced leaves read as a pattern.