Floral Wreath Doodle: How to Draw a Simple Flower Circle
Draw a simple wreath in five steps: a light pencil circle, a few flowers, leaves that all point one way, buds and dots, then ink. Includes a laurel and a half wreath.
Doodle at a glance
What you need
- Pencil and eraser for the guide circle
- Black fineliner or gel pen
- A cup or roll of tape to trace around
- Green and pink highlighters for accent color
A wreath is the friendliest frame there is. It turns a date, a name or a single word into the centerpiece of a page, and it hides its own mistakes, because nobody expects a ring of leaves to be perfectly even.
A floral wreath doodle also looks far harder than it is. The whole thing is a pencil circle, a few flowers, a lot of small leaves and some dots. This walk-through takes it in order, then shows three variations for when a full circle is more than you need.
What You Need
You need a pencil, an eraser, a pen and something round. A cup, a jar lid or a roll of tape all work. A circle about the width of your palm suits a notebook page, and a smaller one, traced around a bottle cap, suits a card or a planner box.
Step 1: Pencil a Light Guide Circle
Set the cup or tape roll on the page and run the pencil around it with very little pressure. This guide line gets erased later, so it should be barely visible.
Think of the circle as a path, not an outline. Flowers will sit on it, and leaves will sprout from it on both sides, so the finished wreath ends up as a band about as wide as your finger.
Tip
No round object nearby? Pencil four dots at the top, bottom, left and right of an imaginary circle, then join them with four gentle curves. A slightly egg-shaped ring still makes a good wreath.
Step 2: Place Three or Five Main Flowers
The flowers go on first, because they are the largest motif and everything else fits around them. Use an odd number, three for a small wreath and five for a larger one.
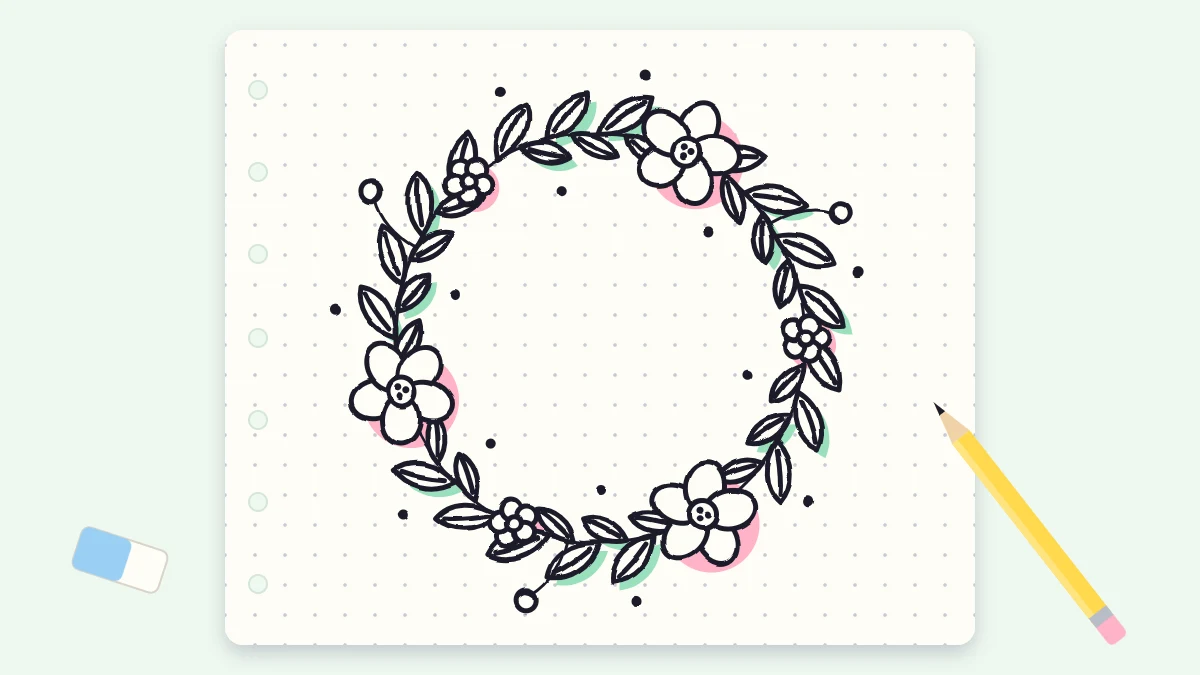
- Draw the first flower on the circle at the lower left, around the eight on a clock face. A simple one is enough: a small circle with five round petal loops around it.
- Draw the second at the upper right, around the one or two.
- Draw the third near the bottom right, around the five, and make it a little smaller than the others.
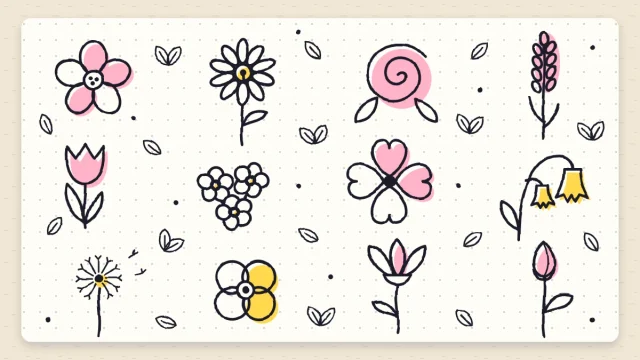
Keep the spacing uneven on purpose. Flowers placed at exact thirds look like a clock, while a loose arrangement looks picked from a garden. If you want more than one kind of bloom, borrow a daisy or a spiral rose from the set of small flower doodles.
Step 3: Add Leaves That All Point the Same Way
This step is the one that makes a wreath look like a wreath. Choose a direction, clockwise or counterclockwise, and send every leaf that way.
- In a gap between two flowers, draw a short stem line that follows the pencil circle.
- Add a small pointed leaf on the outside of the line, leaning forward in your chosen direction, like an arrowhead that has been tilted.
- Add the next leaf on the inside of the line, a little farther along, leaning the same way.
- Keep alternating outside and inside until you reach the next flower. Stop just short of its petals.
- Repeat in every gap, turning the page as you go so your hand always draws at a comfortable angle.
Each leaf can be a plain almond shape: two curves that leave the stem and meet at a point. If you would like round leaves, fern fronds or leaves with veins, the guide to leaf doodles has twelve to choose from. Stick to one or two leaf shapes per wreath.

Step 4: Fill the Gaps With Buds and Dots
Step back and look for bare patches along the ring. Those get the smallest marks.
- Buds: a short curved stalk leaving the ring, with a small teardrop or a circle on the end. Place one beside each main flower.
- Berry dots: groups of three dots, tucked between leaves.
- Tiny leaves: single leaves half the size of the others, wherever the band looks thin.
- Loose filler: a few single dots just outside the ring, for a lighter, airier edge.
Step 5: Ink, Wait, Erase
If you worked in pencil so far, go over everything in pen now, flowers first, then leaves, then fillers. If you drew straight in pen, you only have the guide circle left to deal with.
Watch out
Gel and felt-tip ink can smudge until dry. Give the wreath a minute or two before erasing the pencil circle, and brush the eraser crumbs away instead of wiping them with your hand.
For color, one or two accents are enough. A green highlighter stroke behind some of the leaves and a dab of pink on the flowers is all it takes. Leave some leaves uncolored so the line work still shows.
Three Variations
Once the full ring makes sense, the same steps give you several other frames.
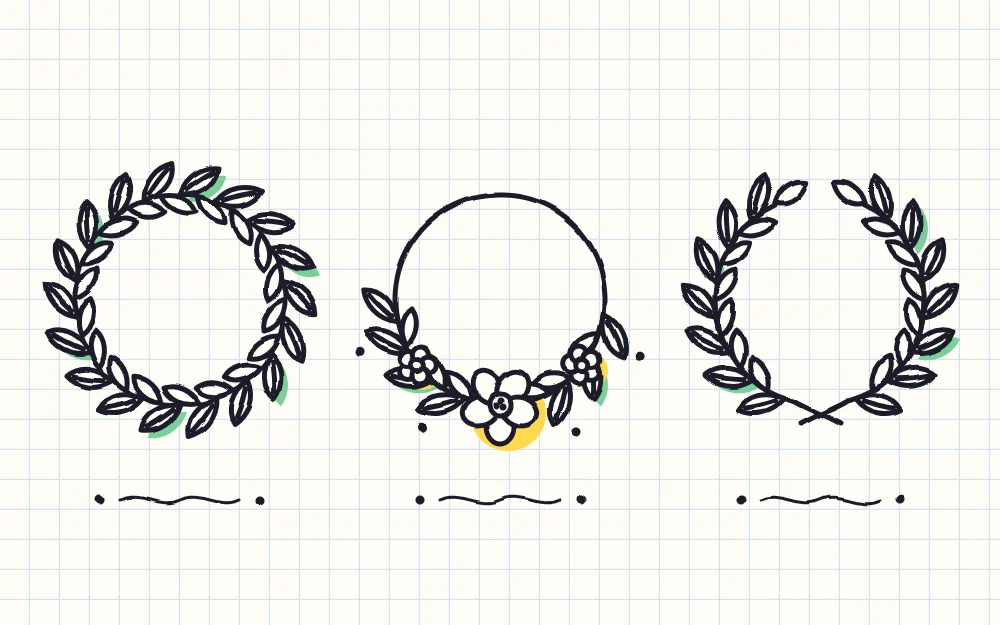
- Leaf-only laurel: skip the flowers. Draw two curved branches that start together at the bottom of the circle and climb up each side, stopping before they meet at the top. The leaves on both branches point upward, so the two sides mirror each other. The opening at the top is a good spot for a tiny star or heart.
- Half wreath: decorate only the bottom half of the pencil circle, from about nine on the clock down and around to three. Put the largest flower at the bottom center and let the leaves get smaller toward both ends.
- Full leafy circle: no flowers at all, just leaves alternating inside and outside the ring all the way around, every one pointing the same way. This is the quickest version and the calmest to look at.
A wreath is really a border bent into a ring. If you would like the same leafy motif running straight along the edge of a page, the doodle borders guide shows how to handle the corners.
Keep the Center Empty for Lettering
The middle of the wreath is the whole point, so protect it. Let the inside leaves stay shorter than the outside ones, and keep buds and loose dots on the outer edge.
Before you ink anything, pencil the word, date or initial in the center to check that it fits. Short is best: one word, a date, a single capital letter or a small heart. If the lettering crowds the leaves, draw the next wreath around a larger cup instead of shrinking the writing.
Write the text last, in pen, once the wreath is dry and the pencil is gone.
Frequently asked questions
How do you draw a wreath circle without a compass?
Trace lightly around any round object, such as a cup, a jar lid or a roll of tape. If nothing round is handy, pencil four dots at the top, bottom and sides, then join them with gentle curves. The leaves will cover small bumps in the line.
Why does my wreath look messy?
Usually the leaves point in different directions. Pick clockwise or counterclockwise and lean every leaf that way, alternating between the inside and outside of the ring. Limiting the wreath to one or two leaf shapes and an odd number of flowers also keeps it tidy.
How many flowers should a wreath doodle have?
Three suits a small wreath and five suits a larger one. Odd numbers are easier to space loosely, so the ring does not look like a clock face. A wreath with no flowers at all, made only of leaves, works well too and is quicker to draw.