Doodle Borders: 12 Easy Page Borders to Draw
Twelve hand-drawn borders made by repeating one small unit, from scallops and zigzags to vines, stars and bunting, with simple ways to keep spacing even and get around corners cleanly.
Doodle at a glance
What you need
- Black fineliner or gel pen
- Pencil and eraser for guide lines
- Ruler or the straight edge of a card
- Highlighter for one accent color
- Any notebook page, dot-grid if you have it
A border is the quickest way to make a plain page look finished. You are not really drawing a picture at all, only repeating one tiny mark along an edge until you run out of edge.
The twelve doodle borders here each come from a single small unit: a bump, a point, a leaf, a star. Learn the unit, repeat it, and decide what to do when you reach a corner. That is the whole job, whether you are framing a notebook page, a card or a title box.
Start with a pencil guide line
Borders drift. Without something to follow, a row of scallops that starts near the edge will wander toward the middle of the page by the far side.
With a pencil, lightly draw a line about a finger-width in from each edge you want to decorate, using a ruler or the edge of a card if you want it straight. On dot-grid or squared paper you can skip the pencil and follow a row of dots instead.
Draw the border in pen so that it sits on the guide line, let the ink dry, then erase the pencil.
Watch out
Erasing too soon drags wet ink across the page. Gel and felt-tip lines can smudge until dry, so give them a minute and test one spot before rubbing out the whole guide line.
Six borders from lines and curves
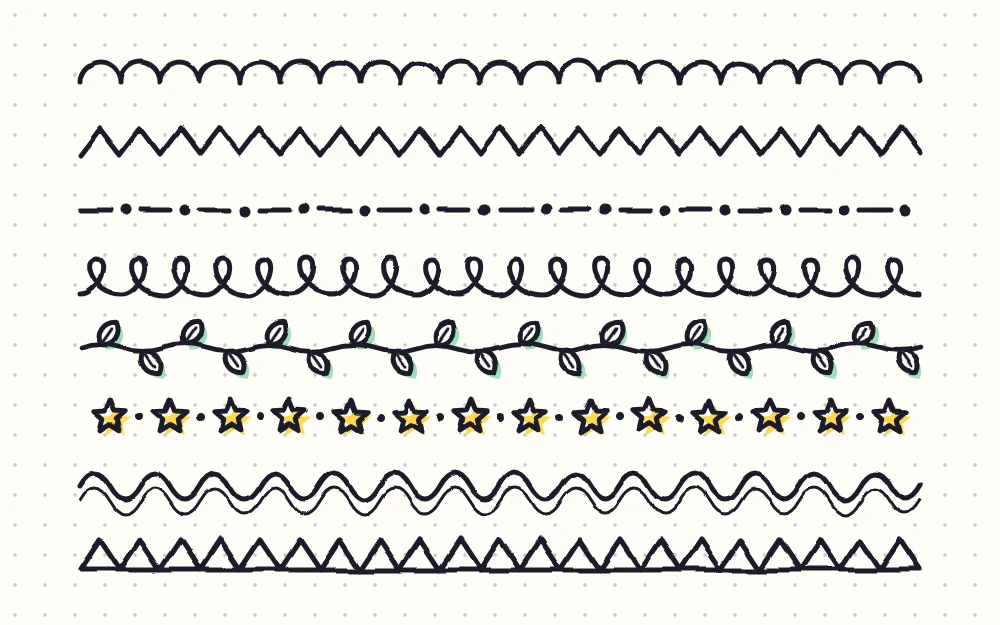
- Scallops: draw a row of small arches, like the letter n repeated with each one touching the next. Flip them to hang downward for a lace-edge look.
- Zigzag: draw short slanted strokes up and down without lifting the pen, keeping every peak the same height. A second zigzag just below the first makes it bolder.
- Dots and dashes: draw a short dash, leave a gap, add a dot, leave a gap, and repeat. Try two dots between dashes for a different rhythm.
- Loops: draw a line of joined cursive letter e shapes, each loop leaning the same way and the same size.
- Waves: draw one continuous line that rises and falls in smooth, even humps. Add a second wave a little below, following the first.
- Triangles: draw a straight base line, then a row of small triangles standing on it, sides touching. Fill every other triangle with pen for contrast.
These six are all about steady, even strokes. If you like their tidy look, the geometric doodle patterns use the same marks to fill whole boxes and page sections.
Six borders from small motifs
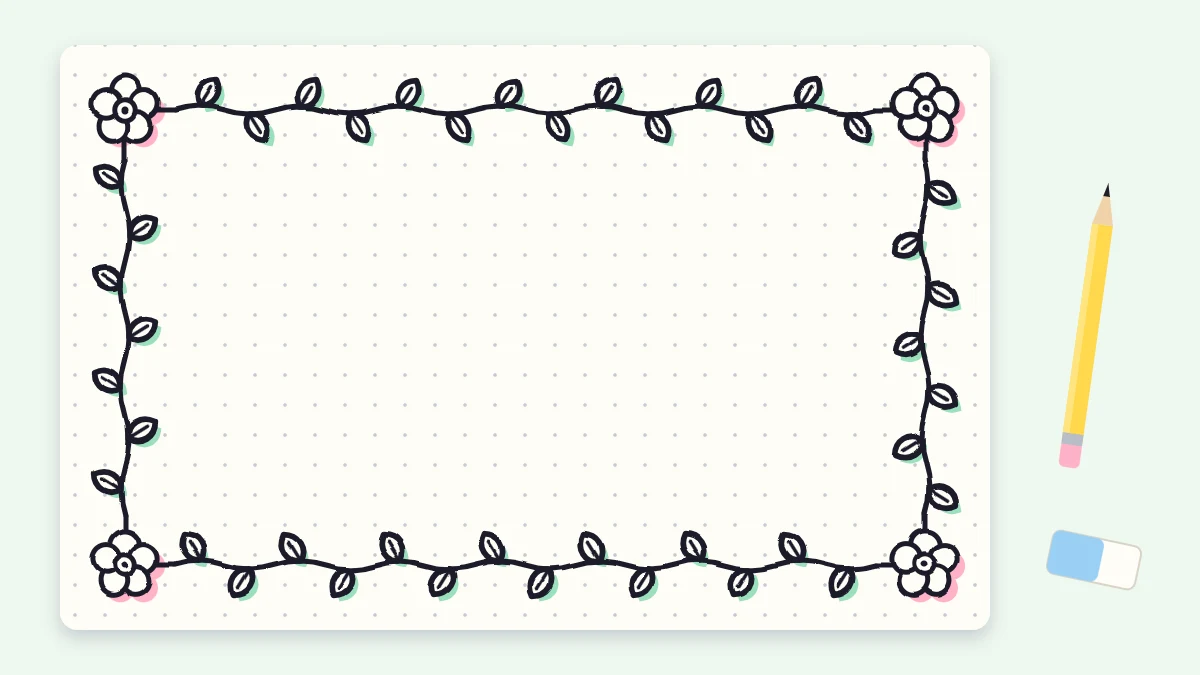
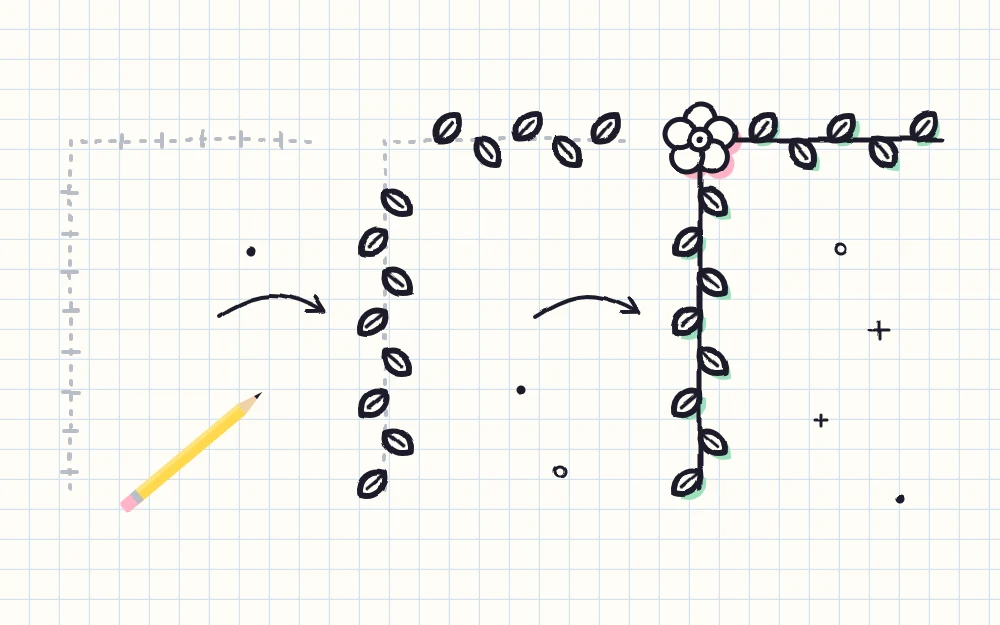
- Leafy vine: draw a long, gently wavy line. Along it, add small almond-shaped leaves, alternating one above the line and one below, all leaning in the direction the vine travels.
- Stars: draw a row of small five-point stars with a dot between each pair. Alternating a larger star with a smaller one keeps it lively.
- Hearts: draw small hearts in a row, each made from two bumps meeting at a point below. Tilt them left and right in turn, or join them with a short dash.
- Double line with corner squares: draw two parallel lines close together along each edge, stopping short of the corners. At each corner, draw a small square that the lines run into. Put a dot or a tiny cross inside each square.
- Bunting flags: draw a string as a row of shallow, sagging curves, like a line of smiles joined end to end. Hang small triangles from it, points down, and decorate the flags with stripes or dots.
- Tiny flowers: draw a small circle with five rounded petals around it, then a short dash or a pair of leaves, then the next flower. Keep each bloom about the size of a pea.
The vine is the most flexible of the set, because you can swap in any leaf shape you like. The guide to twelve easy leaves to draw has plenty to choose from.
Keep the spacing even
Uneven spacing is the one thing that makes a border look rushed. Two habits prevent it.
Use tick marks. Before inking, make tiny pencil ticks along the guide line where each unit will start. Space them by the width of your fingertip, or count squares or dots on gridded paper. Then draw one unit per gap.
Work from the middle out. Draw one unit at the center of an edge, then add units on each side in turn. Any leftover space gets split between the two ends, where a corner motif can hide it.
Tip
Turn the page so you always draw in your most comfortable direction, usually left to right or toward you.
Two ways to handle corners
Corners are where most borders go wrong, because a repeating unit rarely fits neatly around a right angle. Pick one of these approaches before you start.
Stop and add a corner motif
End the border a little short of each corner and fill the gap with something different: a flower, a star, a small square or a cluster of three dots. This suits zigzags, triangles, scallops and the double line, and the motif covers any uneven join.
Curve around
Round off the guide line at the corner so it turns in a smooth quarter circle, and let the border follow it without stopping. This suits flowing borders: the vine, waves, loops and bunting. Units on the curve can sit a little closer together on the inside and fan out on the outside.
Full frame or bands?
You do not have to border all four sides.
- Full frame: all four edges. Best for cards, title pages and quote pages, where the center holds only a little text.
- Top and bottom bands: a border across the top and another across the bottom, with the sides left open. This keeps the full width of the page for notes and avoids corners entirely.
- Single side: one border down the outer margin. A vine or a row of stars works well here.
- Title box: a small frame drawn around a heading only, using a simple border such as dots and dashes or the double line.
A band across a page is close cousin to a divider. If you want shorter decorative lines to separate sections within a page, the simple doodle dividers follow the same repeat-one-unit idea.
Matching the border to the page
Keep the border quieter than whatever it frames. A busy page of notes suits dots and dashes or a single wave; a nearly empty page can carry hearts, bunting or flowers.
Stick to one border per page and one accent color: fill every other triangle, flag or leaf with a highlighter and leave the rest plain. Borders also pair nicely with headers, corner decorations and bullet icons, all covered in the notebook decoration ideas.
Frequently asked questions
How do I keep a hand-drawn border straight?
Draw a light pencil guide line a finger-width in from the edge and build the border on top of it, then erase the pencil once the ink is dry. On dot-grid or squared paper you can follow a row of dots or a ruled line instead.
What is the easiest border for a beginner?
Dots and dashes. It is only a short dash, a gap, a dot and another gap, repeated along the line, and small differences in spacing barely show. Scallops and a single wave are good next steps because each is one simple curve repeated.
What should I do when a border does not fit at the corner?
Stop the border a little before the corner and fill the space with a separate small motif such as a flower, a star or a square. It hides any uneven gap. For flowing borders like a vine, round the corner into a curve and keep going.