How to Doodle Flowers: Daisy, Tulip and Sunflower Step by Step
Three full walk-throughs for a daisy, a tulip and a sunflower, stroke by stroke, plus quick fixes for lopsided petals and stems that start in the wrong place.
Doodle at a glance
What you need
- Black fineliner or gel pen
- Pencil and eraser for guide lines
- Yellow and pink highlighters for accent color
- Any notebook page
A flower is one of the first things most people try to draw, and one of the first things that goes a bit sideways: petals bunch up on one side, or the stem pokes out from somewhere odd. Learning how to doodle flowers is mostly a matter of putting the strokes in a sensible order.
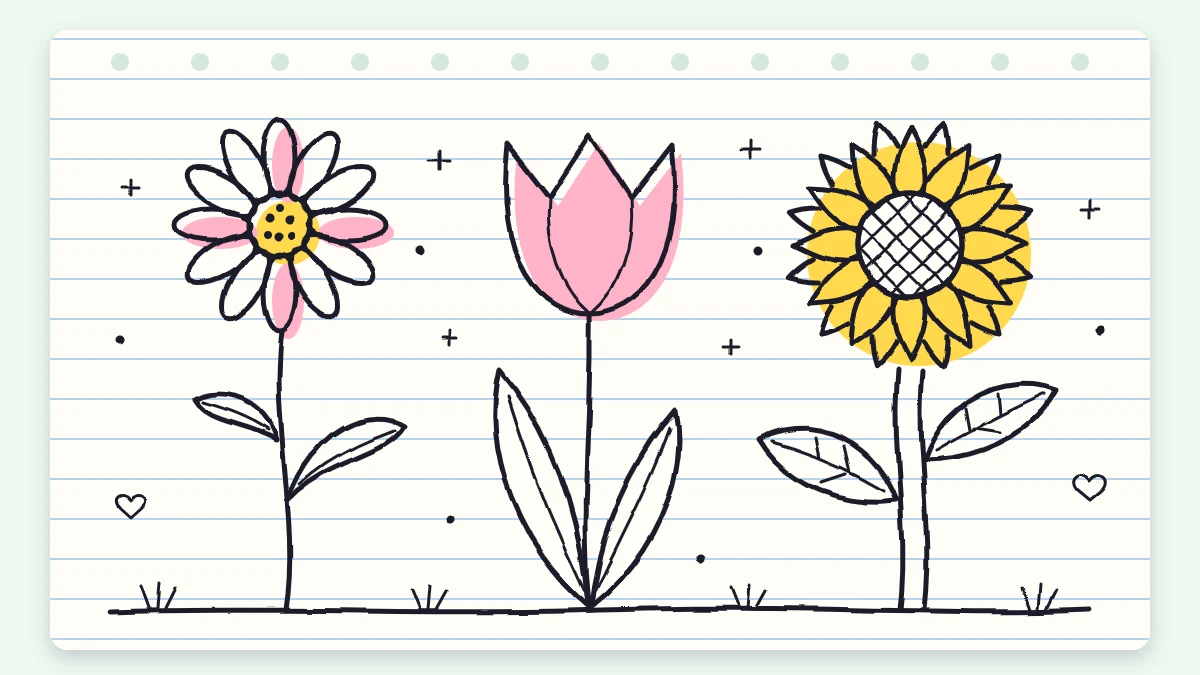
This guide walks through three flowers that anyone will recognize at a glance: a daisy, a tulip and a sunflower. Each takes a minute or two, and each uses a different trick, so by the end you have three methods you can reuse on other blooms.
Before You Start
Any pen and any scrap of paper will do. Draw each flower about as tall as your thumb, which is large enough to fit the petals in and small enough to stay a doodle.
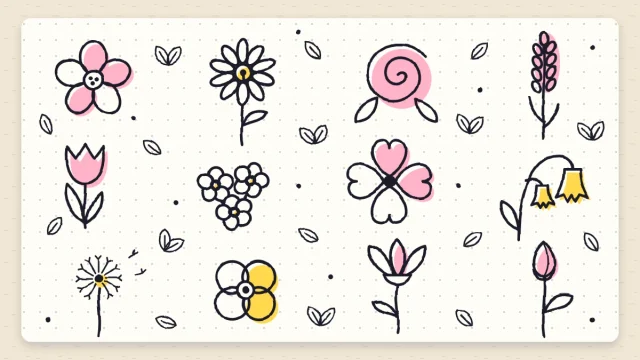
If you like a safety net, pencil a faint guide line for the stem and a faint circle for the outer edge of the petals, then erase both once the ink is dry. If you only want a tiny bloom with no stem, the collection of small flower doodles is the quicker route.
The Daisy: Petals at the Clock Points
The daisy teaches the most useful flower habit of all: place four petals first, then fill the gaps.
- Draw a small circle for the center, about the size of a pea.
- Add four petals at the top, bottom, left and right, where 12, 3, 6 and 9 sit on a clock. Each petal is a long, narrow loop that starts on the center circle, runs outward, rounds off and comes back to the circle.
- Fill each of the four gaps with two more petals of the same length. You now have a ring of twelve.
- Draw the stem as one gently curved line. Start it just below the bottom petals and aim it as if it came from the center of the flower. Add one leaf partway down.
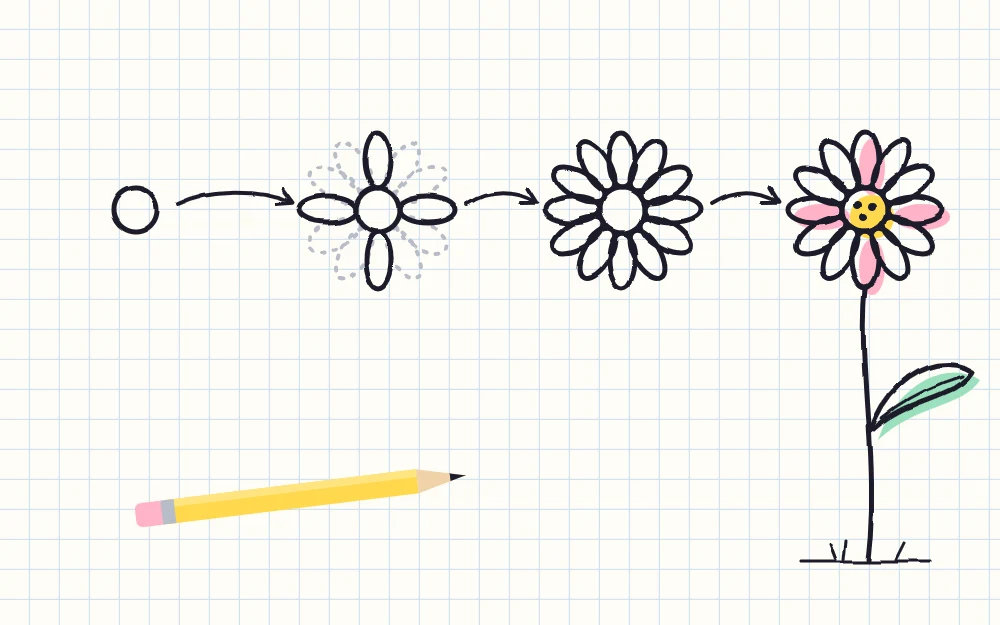
Finish with a few dots inside the center circle. If a gap is too narrow for two petals, draw one. Nobody counts.
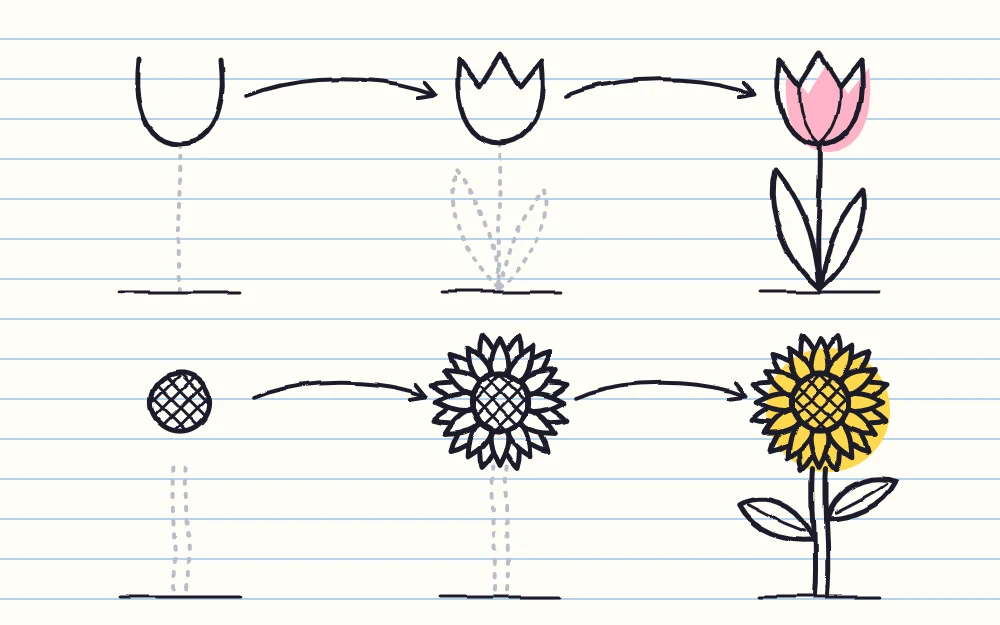
The Tulip: A Cup With Three Points
The tulip is drawn from the side, so there is no center at all. It is a cup with a pointed rim.
- Draw a U shape that is a little taller than it is wide. Leave the top open.
- Close the top with three points. From the left tip of the U, go up to a point, dip down, rise to a slightly taller middle point, dip again, rise to a third point and come down onto the right tip of the U. Keep the dips rounded, like shallow scoops.
- From each dip, draw a short curved line down into the cup, stopping about halfway. These suggest petals overlapping.
- Draw a stem from the bottom of the U, curving slightly to one side.
- Add two long leaves. Each one starts at the base of the stem, sweeps up and outward to a point about level with the bottom of the cup, and returns to the base in a second curve. One on each side, one a little taller than the other.
Let the leaves be long. Short ones turn the tulip into a cup on a stick.
The Sunflower: Big Center, Two Rings of Petals
The sunflower flips the daisy’s proportions. The center is the star, and the petals are short and pointed.
- Draw a large circle for the center, about the size of a small coin. It should take up roughly a third of the finished flower’s width.
- Give the center its texture. Draw a set of slanted parallel lines across the circle, then a second set slanting the other way, so they form small diamonds. A ring of dots just inside the edge works too, and is quicker.
- Draw the first ring of petals. Each petal is two curved lines that leave the edge of the center and meet in a point. Place four at the clock points, then fill between them until the petals sit shoulder to shoulder.
- Draw the second ring. In every gap between two petal tips, add a small upside-down V, so a row of extra tips peeks out from behind.
- Draw a thick stem using two parallel lines instead of one. Add one broad leaf on a short stalk: a wide heart shape with a center vein.
Tip
Turn the paper as you work around a ring of petals. Pulling every petal toward you is easier than pushing some of them away, and the petals come out more even.
Common Problems and Easy Fixes
Most flower slips come down to the same few causes.
| Problem | Why it happens | Easy fix |
|---|---|---|
| Petals crowd on one side | Drawing around the ring in one go | Place the four clock-point petals first, then fill the gaps |
| Petals of very different lengths | No outer limit to aim for | Pencil a faint guide circle and stop every petal on it |
| Stem comes from the wrong place | Starting it from the nearest petal | Aim the stem at the center of the flower and start it behind the petals |
| Tulip looks like a crown | Cup too wide and points too sharp | Make the U taller than wide and round the dips |
If a flower has already gone lopsided in ink, add a second flower or a leaf on the thin side. The pair will balance, and the wobble disappears.
Stems and Leaves Without the Fuss
All three flowers use the same stem rule: one line, one curve, pointing back to the middle of the bloom. Only the sunflower gets a double line, because its head is heavy.
Keep the leaves as simple as the flower. A pointed almond shape with a center vein suits the daisy, long blades suit the tulip and a broad heart suits the sunflower. For more shapes, including how to add side veins, see the step-by-step leaf doodles.
Putting the Three Together
Drawn side by side at different heights, the three flowers make a neat little row for the bottom of a page or the front of a card. Put the sunflower in the middle as the tallest, the tulip on one side and the daisy on the other, and let the leaves overlap a little.
Add one accent color per flower, such as yellow on the sunflower petals and pink on the tulip cup. Gel and felt-tip ink can smudge until dry, so wait a moment before coloring.
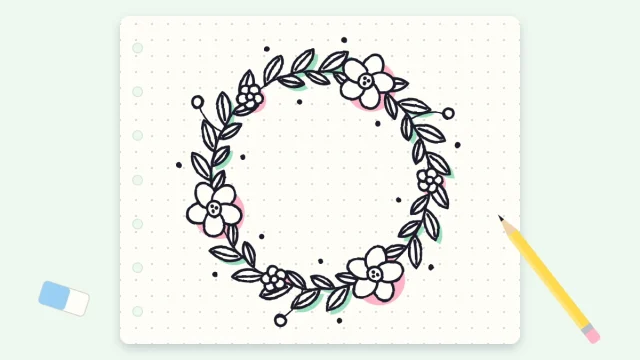
When single stems feel easy, try bending them into a ring. A floral wreath doodle uses these same flower heads, minus the stems, spaced around a circle.
Frequently asked questions
How do you keep flower petals even?
Place four petals first, at the top, bottom, left and right of the center, then fill the gaps between them. This splits the ring into four small sections, so any unevenness stays tiny. A faint pencil circle for the petal tips to touch helps with length.
Which flower should a beginner doodle first?
Start with the daisy. It uses one shape, a long loop, repeated around a small circle, and it still looks good when the petals are a little irregular. The tulip is a fine second choice, since it has only a cup, a stem and two leaves.
Do you need to sketch in pencil before using a pen?
No, but a couple of light guide lines can help at first. A faint circle for the outer edge of the petals and a faint curve for the stem are enough. Erase them only after the ink is fully dry, because gel and felt-tip ink can smudge.