Winter and Christmas Doodles: Snowflakes, Trees and Mittens
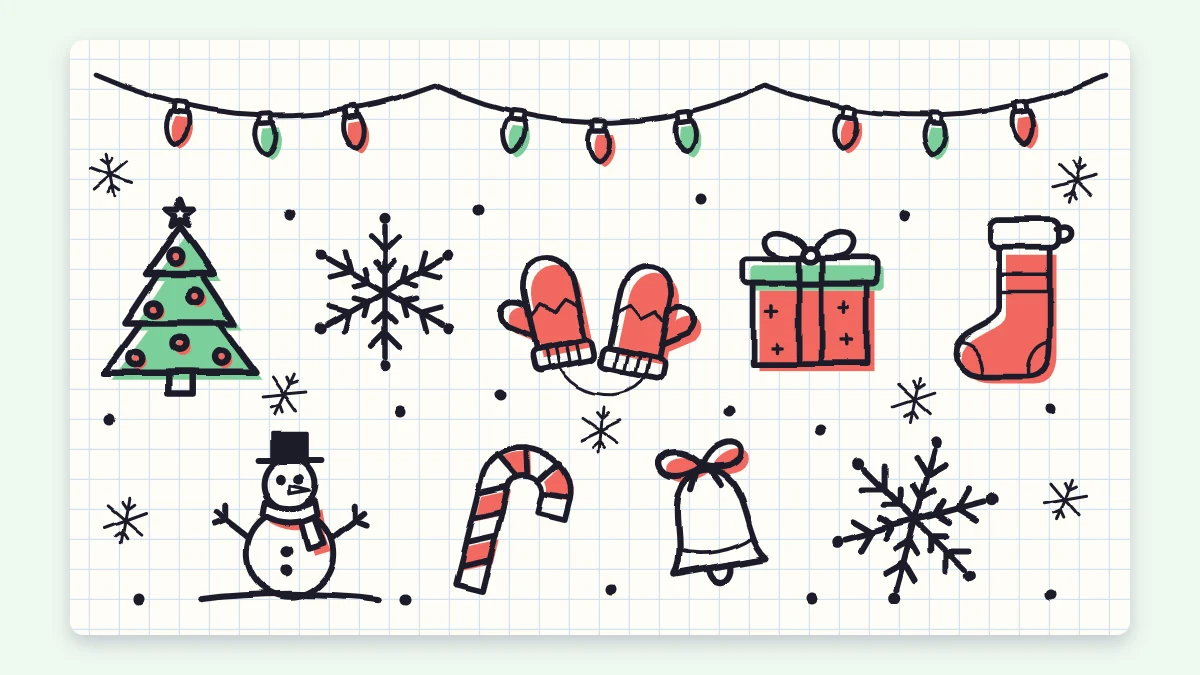
A snowflake drawn in four stages and fourteen more holiday motifs, including three pine trees, a mitten, a stocking and a string of lights, with a gift-tag layout and red and green accents.
Doodle at a glance
What you need
- Black fineliner or gel pen
- Red and green markers or highlighters
- Pencil and eraser for guide lines
- Blank cards, tags or a notebook page
December pages fill up fast: cards to write, tags to tie on, lists to keep. A few winter and Christmas doodles in the corners make all of it look festive, and most are built from triangles, circles and straight lines.
The set opens with a snowflake drawn in four stages, then covers fourteen more generic holiday motifs, a gift-tag layout and a light-string border.
Worked example: a snowflake in four stages
Every snowflake here grows from three lines crossed at one point. That gives six arms, and whatever you add to one arm you add to all six.
- Draw one vertical line. Keep it short, about the width of a fingertip.
- Cross it with two more. Draw two diagonal lines of the same length through its midpoint, like a letter X laid over the first line. You now have six evenly spread arms.
- Add small V marks. About two thirds of the way along each arm, draw a tiny V with its point on the arm and its open side facing outward. Turn the page as you go so every V is drawn in the same comfortable direction.
- Dot the tips. Put a small dot at the end of each arm.
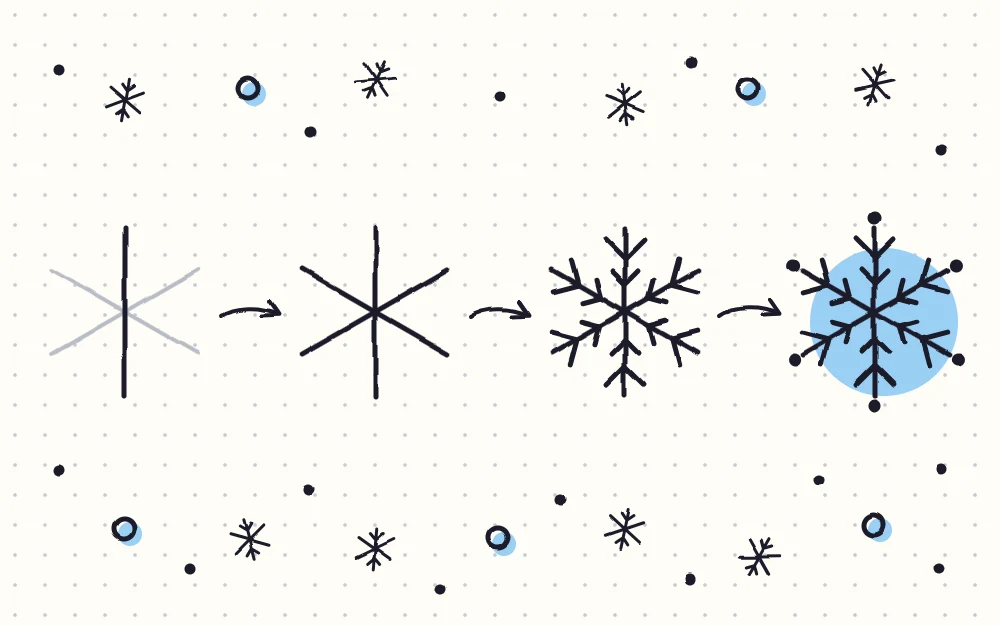
For variety, add a second, smaller V closer to the center, or swap the dots for tiny circles.
A pine tree three ways
- Triangle tree. Draw a tall triangle and a small square trunk under it. Add three sagging curves across the triangle for garlands and a few circles for ornaments.
- Stacked tree. Draw three triangles in a column, small at the top and larger below, each one overlapping the one beneath it. Give each bottom edge a slight scallop.
- Zigzag tree. Start at the top with a dot. Sweep the pen side to side in a zigzag that gets wider with each pass, then finish with a short trunk.
Top any of them with a five-point star. If stars give you trouble, the guide to star and moon doodles shows several easy ways to draw one.
Warm things to wear and sip
- Mitten. Draw an upside-down U for the hand. Add a small bump on one side for the thumb, and close the bottom with a cuff: a short rectangle filled with vertical lines.
- Wool hat. Draw a dome. Put a ribbed band along the bottom, slightly wider than the dome, and a circle on top made of short outward strokes for a pom-pom.
- Stocking. Draw a tall rectangle that bends forward at the bottom into a rounded foot, like a soft letter L. Add a cuff band across the top and a small curved patch at the heel and at the toe.
- Hot drink. Draw a mug as a rectangle with rounded bottom corners and a C-shaped handle. Add a mound of small bumps above the rim for whipped topping and two wavy lines of steam.
Gifts and decorations
- Wrapped gift. Draw a square. Cross it with one vertical and one horizontal band of ribbon, then add two loops and two short tails on top for the bow.
- Ornament. Draw a circle with a tiny rectangle cap on top and a small loop above that. Decorate the circle with one zigzag band or a row of dots.
- Bell. Draw a dome that flares outward at the bottom. Close it with a slightly curved line, add a half circle peeking out below for the clapper and a small bow at the top.
- Wreath. Pencil a circle as a guide line. Ink short leaf shapes all the way around it, pointing the same direction, then add clusters of three small berries and a bow at the bottom.
- Star. Draw five points in one continuous line, or cross four short strokes at their centers for a quick sparkle to scatter between larger doodles.
- String of lights. Draw a drooping line. Along it, hang small teardrop bulbs, each joined to the line by a tiny square base.
Sweet treats and a snowman
- Candy cane. Draw an upside-down letter J with a double outline so it has thickness, and round off both ends. Fill it with slanted stripes.
- Gingerbread figure. Draw a round head. Below it, add a body with two stubby arms held out and two short legs, all with rounded ends. Give it two dot eyes, a curved smile, three dots down the front and a wavy line of icing across each wrist and ankle.
- Snowman. Stack two circles, the smaller one on top. Add dot eyes, a small triangle nose pointing sideways, a row of dots for the mouth, stick arms and a scarf drawn as a band around the neck with one hanging end.
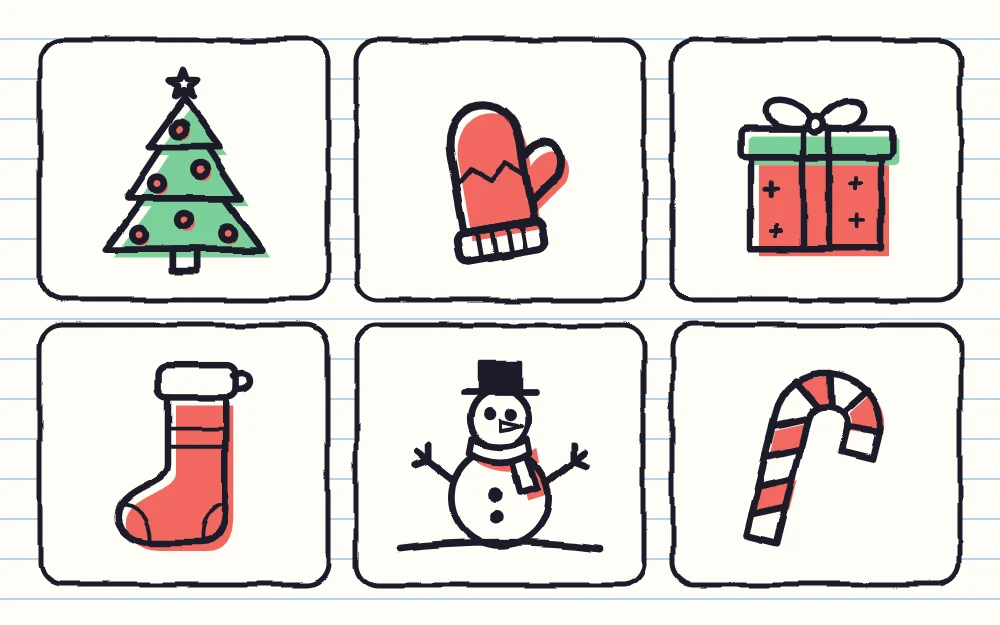
Red and green accents
Black outlines with two accent colors are all a holiday page needs.
| Accent | Where it goes |
|---|---|
| Red | Candy cane stripes, ribbon and bows, berries, the mitten, the scarf, every other light bulb |
| Green | Trees, wreath leaves, the stocking cuff, the remaining light bulbs |
| Left white | Snowflakes, the snowman, steam, the gift box itself |
Watch out
Markers can bleed through thin card and envelopes. Test your colors on a scrap of the same paper before decorating the real thing, and let outlines dry before coloring over them, since gel and felt-tip ink can smudge.
A gift-tag layout
A tag is small, so it needs one main doodle and very little else.
- Cut a rectangle of card about the size of two fingers and snip off the top two corners. Punch or poke a hole near the top.
- Draw a ring around the hole, then a thin border line just inside the edge of the tag.
- Place one doodle in the upper half: a tree, a mitten or an ornament.
- Leave the lower half clear for the name, with a short line to write on.
- Scatter three or four tiny snowflakes or dots in the leftover space.
A light-string border
For the top of a planner page or a card, draw a line that droops in three or four shallow swags from one side to the other.
Hang a bulb every finger-width or so, tilting each one slightly left or right. Color them red, green, red, green, and leave one in every five white. Other simple page borders can be dressed up with holly leaves or snowflakes in the same way.
If you started decorating back in autumn, a few of the fall doodles, such as the scarf, the sweater and the pinecone, sit comfortably beside this set.
Frequently asked questions
How do I draw a simple snowflake?
Cross three short lines at one point so you have six arms, like an asterisk. Add a tiny V partway along each arm, opening outward, and finish each tip with a dot. Keeping all six arms identical is what makes it read as a snowflake, so repeat every added mark six times.
What can I doodle on a holiday card?
One medium doodle in the center, such as a tree, a wreath or a pair of mittens, with a few small snowflakes around it is enough for the front of a card. A string of lights along the top edge or a row of tiny stars also works and leaves room for a greeting.
Which pens work on gift tags?
A fineliner or gel pen with a tip around 0.3 to 0.5 mm handles small tags well, and a thicker felt-tip marker suits bold outlines on larger ones. Card stock varies, so test on a scrap first: some surfaces let ink sit wet for longer, and markers may bleed through thin tags.